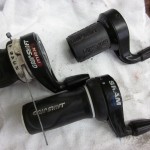
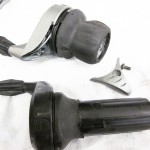
Shifters
Many quality shifters these days are indexing (you click into an exact gear as indicated by the shifter). They often require special, stiffer housing, ferrules and quality cables. Common problems when getting these systems dialed back in (or working at all) come from worn parts. Typically the first course of action is to replace old housing and cables. This helps tighten up tolerances and often gets things working again. The chain and cassette/FW is often a common culprit in poorly shifting systems and finally the derailleur or shifter itself. Quickly checking over the parts in question can often lead to the most likely problem. If the parts are well used it could be a combination of factors so if its not obvious, its good to start with the more likely and move toward the least. Common issues might also include incorrect ferrules (indexed-SIS-housing requires reinforced i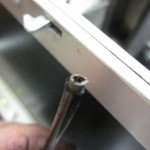 ndexed housing ferrules to keep the housing strands from pulling through the ends of the ferrule (a common issue).
A gummed up pawl might be causing the shifter to “miss” as it is pushed. De-greasing with a solvent (thin, not a soupy thick one), working the pawl manually and repeatedly blowing out 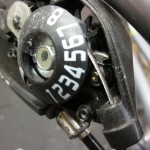 old sticky/ dry lube might be the answer. Re-lube with something light.
A bent derailleur hanger, incorrect cable anchoring/ routing or worn/ bent derailleur or pulleys can also be a cause. I once had a broken 9 spd (ceramic) top pulley which would wobble every so often on its “hub”. It would cause erratic shifting when ridden but seemed to work great in the stand. Zeroing in on a problem may sometimes be tricky so be sure you’ve actually found the actual cause/s. Also be sure to use the correct parts for the fix in so far as they are available. In short; don’t cut corners if you really want it fixed. And if you don’t actually replace the parts- with ones best suited for the job at hand- you usually are not solving the problem, only postponing a real solution.
So as i remember them, common shifting issues might be caused by some of the following:
Old housing/ cables
Worn, broken chain/ cassette(FW)
Bent/ bad derailleur/ bent frame hanger/ miss-anchored cable (routing at fixing bolt)
Bent/ broken/ “skipping” shift lever
Shimano STI TIP: when dealing with a broken cable head lodged in an STI shifter, try pulling any accessible cable strands with pliers as you shift the lever back to hi. This helps anchor the cable head back inside- or close to inside its seat and overcomes the friction created by all the mess. Turning the bike upside down in the stand may help too. Use the best 1.2 mm (Shimano) cables available for replacement. Be patient.
Shimano FWs/Cassettes/chains are quite capable of working with older indexed Suntour shifter/der systems provided the cog # matches the shifter (in my opinion, this works better than the originals).
There are others: crossed internally routed cables, clamped or miss-routed cable (“kickstand encumbered”), miss-matched parts, mushy frame…the list goes on.
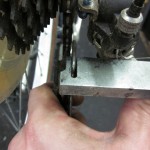 Tip: For improving a worn indexed system try bending in the “pushing” plate on the cage of the derailleur. Make sure however, that the chain still clears the plate especially when in the easier (larger) cogs. Be careful not to bend the entire cage itself. Try this on worn less expensive parts. Mega range derailleurs may not be improved by this method because of the extra cage bends needed to push chain into a 34t cog. The same goes for front derailleurs- unless they are thin brittle higher end types. Find chain line which the shifting is worst in and then gently bend the corresponding point on the cage toward the chain. Use two sets of channel locks to push the plate in/outward.
An older rear der coil-spring which will not drop down into that 11 tooth may be improved by putting a 1-2mm axle washer on the der mount bolt (effectively spacing the der out from the frame).
Chain type may also be critical. For better or worse a new Shimano HG series chain often fixes shifting issues on a wide variety of indexed systems. Many narrower plated chains simply do not shift as well. Noticed especially on chain rings and “down shifting” moving from an 11/ 12t outer cog.
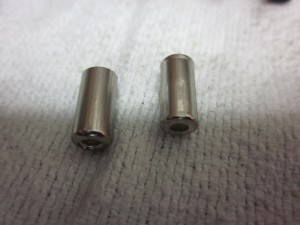
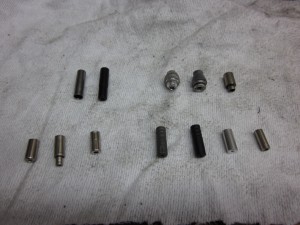
Putting the stronger alloy ferrules @ least @ the deraileur barrel can help with ferrule kinking which is common. Put sealed ones where they are most needed.
Shimano Pod type shifters
 Shimano shifters should be checked for tightness when
 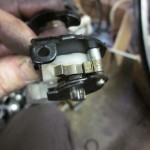 taking out the cable. Remove the cover (often loose- so be sure to tighten when reinstalled) and check the pivot nut for tightness- usually reverse threaded. These can strip or be broken but “working” so be prepared. Locktite for security.
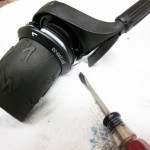
Gripshift:
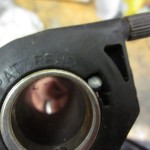 OK, so i thought I’d quickly explain some of the short comings of SRAM shifters and a couple basic techniques for cable replacement since it seems every generation has a different design and folks often have difficulty with them.
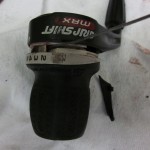
Be aware of the difference between SRAM ESP (often numbered 3.0, 4.0 etc) which work only with SRAM ESP R derailleurs and MRX which work with Shimano. (There are also the much rarer Suntour models found on older Suntour derailleur equipped bikes and those for various multi speed hubs). Front non-indexed versions will work with any derailleur. Indexed ones with Shimano (There may have been a Sram Suntour indexed version front but I may be confusing this with Suntour’s own twist grip shifter…)
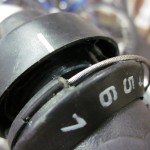
If you are dealing with an older 5/6/7/8 spd shifter and you are not familiar with these be prepared to replace it if it breaks (it may be broken already).
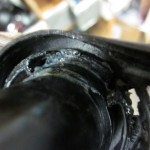 The plastic bodies on these often break at the mounting set screw, barel or spring seat inside the shifter.
Older 5/6 spd models often have an additional screw you will need to remove- or a clipped or screwed on cover (later models). Remove these if 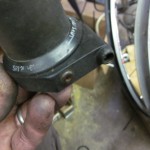 possible for peace of mind if possible and because on some models the cover holds the grip on .
For the screwed on types these should come apart by just taking off the cover/ fixing screw. Putting it in the low (easy/most cable pull) gear position for right shifters or high (difficult/ most cable pull) for left is a good habit to get into however as many types must be positioned this way to get the exiting ramp’s lip lined up for removal of the grip.
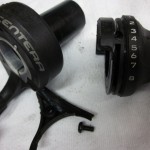
Top/bottom Left: remove screw to remove grip
set to “easy” gear.
So..after the shifter is twisted to its maximum cable pulled position (low or easy gear right/high or difficult left) try to gradually pull outward. Twisting slightly may help you find the one way removal ramp or lip on the inside of the shifter. Go gently while “feeling” for the right spot. On newer models you will have to take the grip section off the bar in order to remove it as there are four clips (two on the “beware” models) which can only push in when this portion of the grip is off the bar.
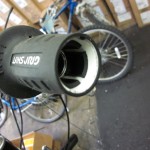 Hopefully the old cable was routed correctly so you can see how many wraps the cable should make and how it should exit the lever. If not you may have to do some thinking.
On older models with the roller coaster like ramp on the inside of the grip, it will be wrapped around once and onto the ramp, up and around this trough and to the exit in the body. Some (cable head access on inside lever) might have a more direct route to the exit hole.
Getting the shifter back together can also be tricky. Check to make sure the spring is seated in its slot and is in the right direction. Unless you have a model which just fits back together, you will have to turn the grip portion of the lever to minimum cable pull. The spring can typically fall out so check its position or remove grip entirely from bar for gravitational assistance. Gently try to click it back together while first twisting towards the hi gears to engage the spring slightly which otherwise gets in the way. Once you have the spring engaged the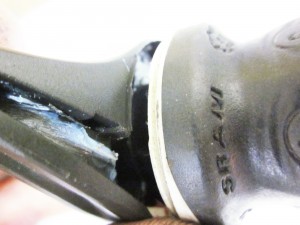 lever should fit together at the high(R) or low (L) gear position (least cable pulled). There is a ramp here as well which is positioned in the opposite direction as the one for dis-assembly. Try to find it before assembly if possible so you know what to aim for.
Tip: if the shifter has an outside cable port and is slightly newer vintage (not multiply wrapped cable), try first snaking the cable through the port while gently jiggling the shifter to help feed the cable through. The shifters with the pronged clips can be especially difficult if pulled apart so give this a try first.
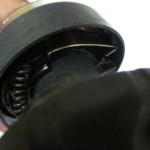
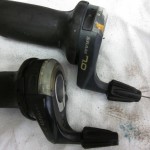 (L/R)These levers should be taken apart only as a last resort as they have an extra spring.
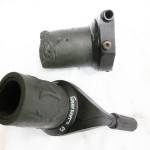 Shifters held together by screw or cover.
Older ones often require extra cable wrap (R)
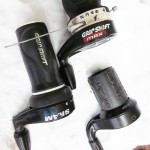 (L)Shifters taken apart/ fit together at ramped sections. Take apart in Low gear put together in high.
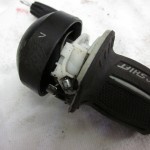 (R)Shifter taken apart with 4 clips. Shifter must be at least slightly removed from bar.
Perhaps we can get into more specifics about differing models when time allows.
Derailleurs
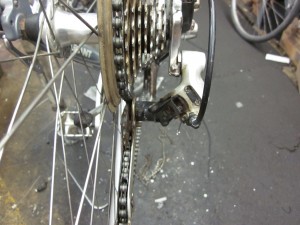
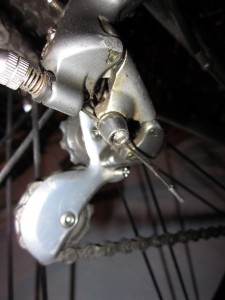 As long as one has the correctly matched working shifter /derailleur (as well as matching cogs/ chain/ housing/ cable all in good condition) then the shifting system should be capable of indexing. Sometimes overlooked however is the position at which the cable is clamped at the anchor bolt. This is quite important and can cause the shifting system to be off by as much as a whole cog by the time the maximum cable pull gears are reached. Older Shimano Dura Ace derrailleurs- which have to be used with the same model shifter- and some front derailleurs can be coaxed into indexing with systems they were not technically designed for. By placing the cable on the other side of the bolt, or routing tab on anchor washer, one can change the actuation amount of the derailleur per shift. Some non-indexing front derailleurs are actually capable of working pretty well with STI levers- especially doubles- as there are only two gears to contend with. Although not technically a true fix, this can make some STI upgrades more financially feasible, esp. for those not looking for Tour De France accuracy.
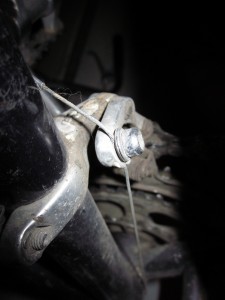 Tip: to route a new cable through internally routed frame try using plastic liner before removing the old one. Bending the end of the cable, a large magnet or using a strand of cable wire through the end of a new cable. For the later, first pierce the soldered end of a new cable with a sharpened spoke and then thread the wire through and tie.

