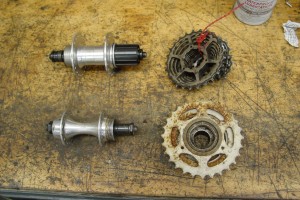
 There are two main types of rear hubs available these days: Cassette and Freewheel (cass and fw). As freewheels/ hubs added more and more gears the tendency for bending and breaking axles increased (because of the increased distance from hub bearing to frame dropout).
 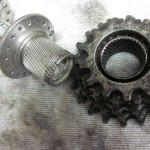 The Maillard Helicomatic was a transitional hub design (which had to utilize smaller 5/32″ bearings to fit the splined FW onto the shell) and proved too prone to wear for reliable long term use. In short, fw hubs are generally now found on less expensive bikes and the generally more reliable cassette hub (with both loose and cartridge bearing versions) on bikes which are intended to see a bit more than casual use. BMX and fixed gear hubs come in many quality levels as well.
Like a BB- and unlike a headset- a hub needs to be in reasonable working order for a bike to work well. The bearings are always moving when the bike is after all. So, if you do overhaul a hub, just as with a Bottom Bracket, be prepared to replace worn parts. You will be wasting valuable time by simply taking apart the hub only to repack it with the same pitted cones or bearings. If you have the parts then you’re all set.
Diagnosis:
Provided a hub seems to have all original and correct parts (has not been “OH’d by my friend Mike who rides a lot…), a quick way to determine what might be needed is to spin the hub while pushing against the cones on each side. If one side seems gritty and the other glassy smooth then you may only need one cone/ bearing set. If its the non-drive side then all the better since many cassette hubs (Shimano) may require two different cones, the non-drive being a bit more universally compatible, the drive being sometimes harder to get at- though check for tightness when accessible. Be prepared to at least clean-out both sides if necessary and not to introduce any dirt if attempting to do just one side-which is easy to do unfortunately. Pulling the axle and good cone out just far enough to access the cone/ bearings which need replacing and keep bearings from falling into the hub shell. Be sure to clean out everything on that side pulling the axle all the way out and packing the good side with grease to keep that sides bearings from falling out. If a dust seal can be removed easily by all means do so but often a cap/ seal may become damaged so if it is at all possible to clean it out with a ra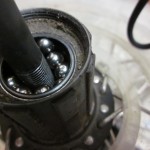 g , q-tip , etc. do so. Damaged dust caps can many times be bent back using a socket or open end wrench but this is an unnecessary pain. Clean axle threads (with degreaser) and wipe away any potential contaminants from the other cone so dirt is not re-introduced. Putting a clean axle, screwdriver or the like part way into the hub as well as a little grease can help get multiple bearings in at once.
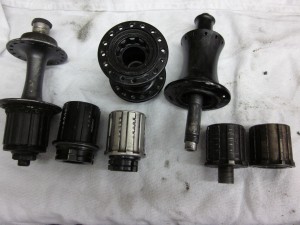 Freehub bodies can often be replaced even on non name brand hubs- if you happen to have a similar model ,perhaps from a trashed wheel. Unfortunately, unless you are dealing with a hub company that is in the habit of supplying after market parts and prizes standardization (Shimano/ Campagnolo etc), you may be hard pressed to even get these units off- let alone find an aftermarket part- as they have many different bolt sizes and fixing methods. Give it a good look inside. You may be able to see which way the treads run, perhaps even if they are fine or coarse.
10, 11, 12mm allen bolts are common fixing methods as are those held together simply by the axle nut or slide on axle spacer. Older Shimano 5 spd were not replaceable. Some of the latter models may have a reverse threading d-side lock nut. Shimano freehubs can be removed from a loose hub by placing a ten mm allen wrench in vise, cassette on hub and chain whip on cassette.The tightened-while-pedaling versions are often the worst to remove. 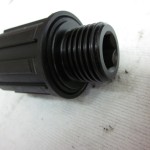 Light heating can help loosen up some models which have coarse threads and usually a bit of thread locking compound. Most all bolt on freehub bodies should be tightened very well when reinstalled. They must withstand a risers torque, weight etc.
Tip: For removing someone’s hub which has had its spokes cut but fw left on here’s a solution. Using the existing spokes (or add on non-fw side)thread every 2nd o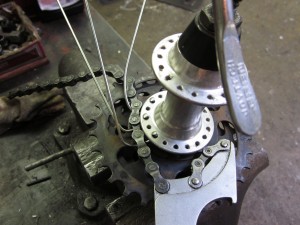 r third spoke through a chin whip. Bend them over or twist together and put on removal tool in vise (w/ skewer as per usual if 2/4 prong type i.e. Suntour etc.) Use a rag for damage controll. Remind owner to not do this in future as it musses up your hair.
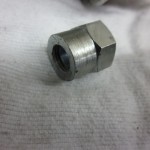 Tip: Have a bunch of french d-side lock nuts/spacers? If the threads are by the cone (not flat side by dropout), they can help to lessen the chance of bent axles by transferring some of the forces involved through this thicker portion of the spacer when hub skewer is securely clamped in dropouts.
Multispeed Internally geared hubs (2, 3, 4, 5, 7, 8, 11, 14, CVT)
For the time being I will deffer to the numerous sites with info on overhauling and setting up internally geared hubs. Each manufacturer will have more specifics and parts (hopefully). Be sure to work disassemble methodically keeping parts in order and with a clear view of how they should be reassembled. Taking apart a hub blind (no schematic) may require a bit of thinking. If no parts are available this may make the OH a moot point or require an extensive search for parts in which case it may be best to reassemble while your memory is fresh. Simple adjustment errors can sometimes be a more obvious culprit for many hubs so be sure your three speed indicator chain is fully activated/ extended in 1st gear, your 7/8 speed Nexus adjustment is made in gear four etc. Realizing that a sticking cable is the culprit can save a lot of unnecessary work.
If you do need to go in be prepared to replace parts with new ones or from another hub. Planet gears, pawls, springs (two speed kickback!) will all need to be sourced.
Fixed Gears
Be sure to tighten cog down VERY securely before tightening lockring. This means greasing threads and using a chain whip, FW vise or cog tool to tighten it down tighter than it will get under the most explosive of uphill sprints. There should be no further possible movement of the cog and cog/ hub threads should be fully engaged (i.e. no unnecessary spacers etc). Install greased lockring tightly but not nearly to the same extreme. It should hit the cog snugly without interference.
Hub Cups
Many damaged cups on less expensive hubs will mean that its time to rebuild the wheel with a new hub or replace altogether. For those that warrant replacement (have an accessible lip behind them and for which you have a suitable replacement type/ size) be warned that this will require a bit of expertise. Using an expanding cup removal tool/ punch or improvised device carefully hammer out cup being sure that it comes out straight. Using an old axle instead of the slide hammer portion is often required as cups generally are extremely tight fitting. To install use a slightly smaller cartridge bearing, cartridge bearing seating tool or improvised tool to install. If shimming be sure shim does not slip behind cup as this will hinder a flush fit into shell.
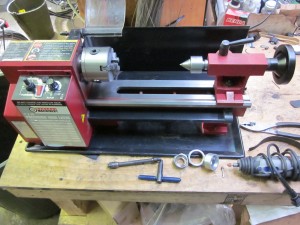
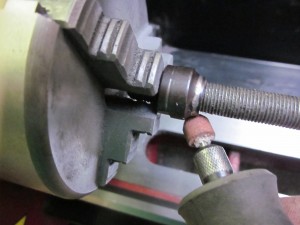
Replace whenever damaged. This includes not only pitted cones but rough or grooved race surfaces as well. Many older cones may be difficult to impossible to find replacements for. Using an electric drill or lathe grind down the cone past damage and smooth out with emery cloth.
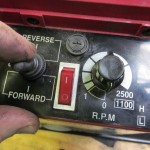 When using a lathe be sure to spin forward at a fast speed holding the grinding bit below to avoid chatter. Resting an arm against the switch box while holding the other arm doing the grinding can help steady your hand. Be sure to use eye protection, no loose clothing etc. Lock the axle/ spindle/ cup or race into chuck ensuring that it is centered. You may need to try a different (straighter) axle and remove any spacers that accentuate any wobble. Clamping just the end of the axle also helps avoid accentuating imperfections along the axle which can cause wobble. There should be very little perceptible wobble esp at slow speeds. Keyed axle ways should not touch chuck jaws and bent axles should not be used especially when grinding on the live center side. If grinding two cones (L/R) on one axle make sure the live center side cone has a lock-nut. The chuck side cone should sit flush up against the jaws so as to not spin free. Placing a cone and or nut can help stabilize/ center a solid axle or nutted spindle (further use of an even smaller nut inserted into its end can help center but severely bent axles should be avoided.
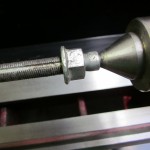 Use a designated hollow spindle equivalent in place of a solid axle whenever possible.
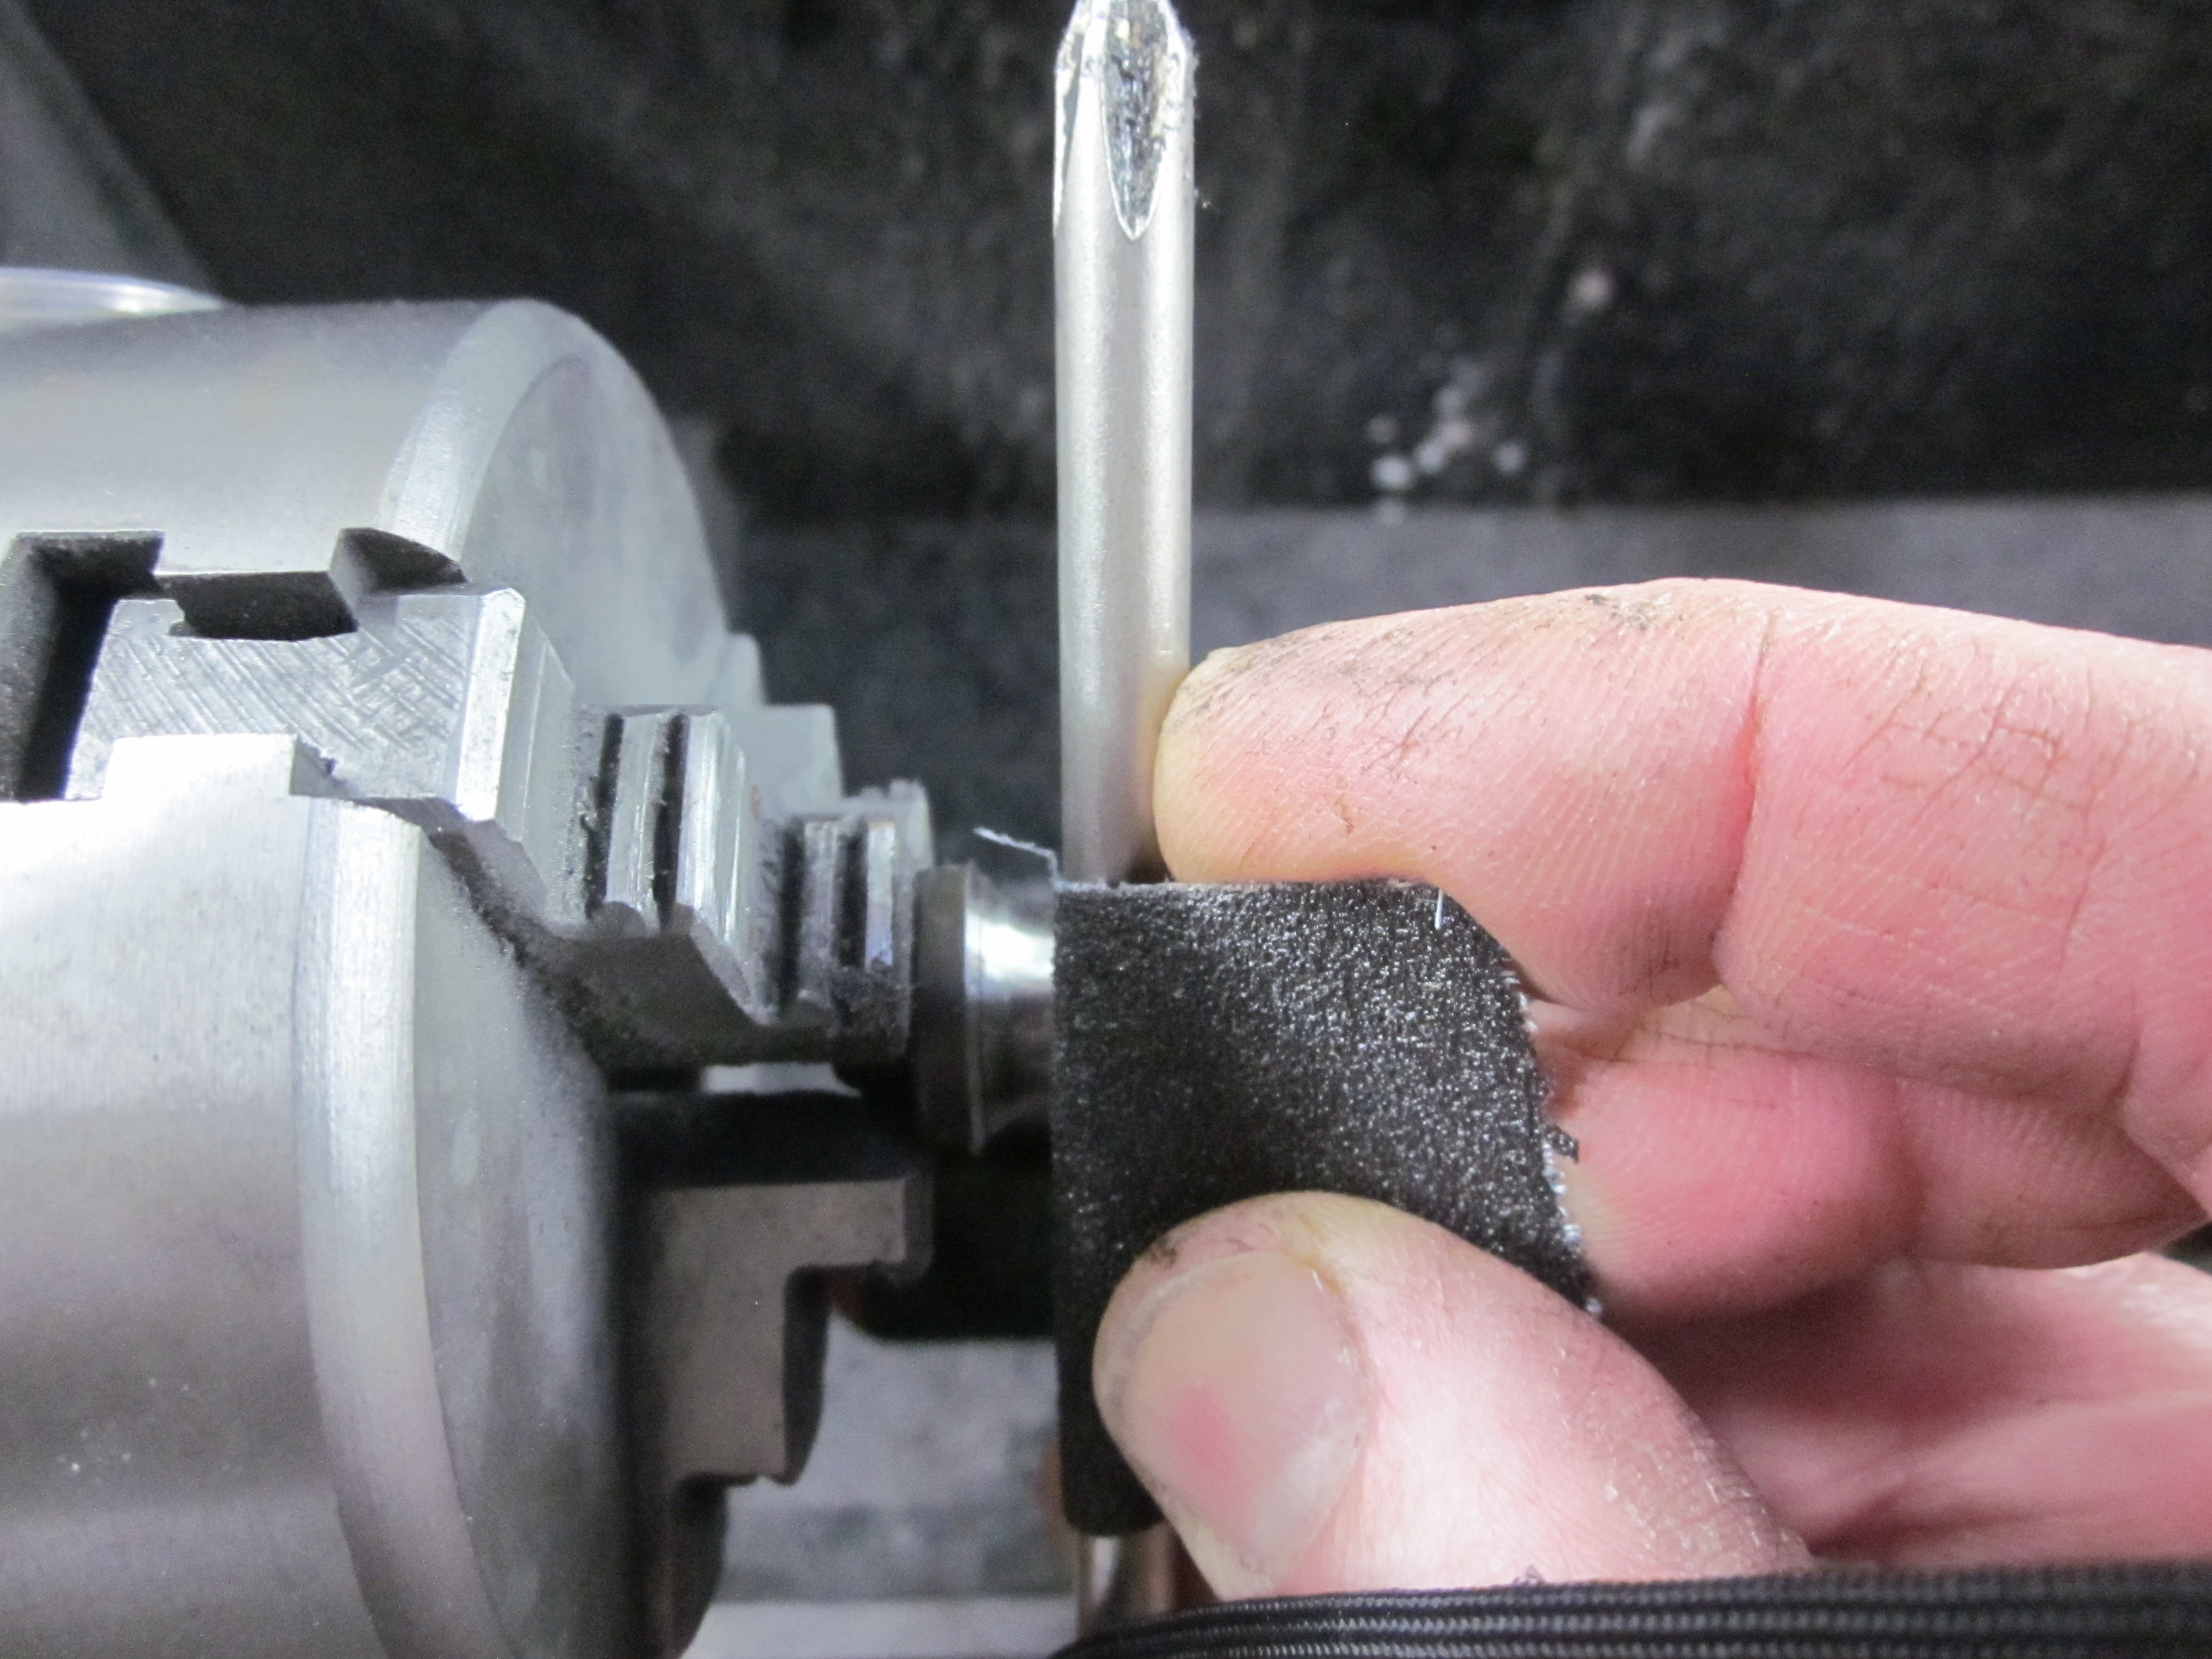
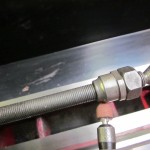 Never, ever hit the chuck. This means modest pressure (especially with emery cloth) to avoid slippage. Too much pressure can cause chatter or slippage. Smooth out the damaged portion by matching the stone’s profile to the cone’s profile, covering the entire curve including the undamaged sections. You will likely need to hold the bit a few degrees less than 90 degrees and underneath. Matching the cone’s profile as best as possible both above and below the worn section will help guide and grind evenly creating less chatter. Do no more than necessary and smooth out with emery cloth wrapped around a dowel large enough to provide full coverage (such as a screwdriver) applying light pressure and being sure not to slip. Several pieces of emery cloth can help enlarge the curved contact portion. Be sure to brace your operating hand with your other hand to ensure that, if you do happen to slip your hand wont go far. Hard to find headset parts, BB Cups can also be fitted using a squarely cut BB shell and ground as a last resort.
Home-made silicone seals: Want to add a bit of protection to an old hub/ BB without any seals? Degrease the shell/ cup portion around the axle and spindle. Wrap axle cone or spindle with thin plastic wrap and tape further out along its length to hold in place. Lube plastic with grease being careful not to contact shell/ cup portion and then apply Silicone. Allow to dry thoroughly without movement and then pull out plastic.
Note: in some countries where hub parts are expensive or near impossible to aquire, grass fiber or the like might be used for packing a hub. The difference between a working bike and no bike at all can bring out quite ingenious solutions. Mull over all your options and choose the best one for your situation.

