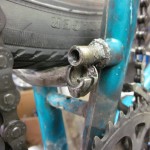
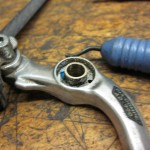
There are many different types of braking systems for bicycles and I doubt I will ever get the time to go into all of them but here are a few quick tips.
Cables should be of high quality (stainless) and housing should be in good 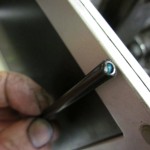 condition with no burrs, cracks
 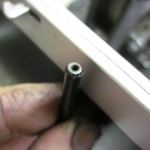 etc if you want them to resist corrosion and minimize stiction. Grinding down the cut ends and using high quality reinforced ferrules can reduce flex in the system.
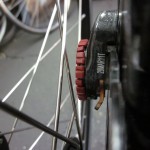 For mechanical (cable activated) disc brakes, first make sure that axle is adjusted and that it is fully seated in the dropouts (place the bike on ground to check). Next, with cable slack, try setting the brake up loosely on the mount. Screw in the fixed pad so that it is effectively off center (disc is closer to moving pad). Tighten up the cable and, with the mounting bolts just loose enough so the brake can freely move, alternately tighten down the caliper bolts very gradually. Look for caliper movement caused by the bolt’s washers. You may lightly lube the flats, try to remove any indentations caused by previous mountings or use different washers if need be. Just looking to see if and how the caliper shifts as it is tightened down can aid in getting it straight. Ideally you will want it set up with the disc off center and toward the moving pad allowing for more time in between caliper/ pad adjustments. The pads will have to be adjusted but the moving pad will not push into the caliper itself as quickly.
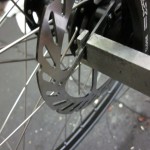 Getting a good adjustment may be difficult. Bending a slightly warped rotor or facing the brake mounts might help. Bending rotors which have a slight wobble is usually best done down by the spider. Grab the spider arm and bend it using a disc tool or devise your own. Bends are often just straight inward/ outward but twisting the “arm” a bit can some
 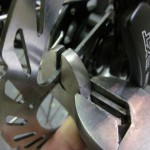 times help for bends in between arms. If you do have to attempt a bend using the braking surface itself (i.e. a “blip” in rotor)- try bending with two tools bending toward one another to avoid creating more damage. Or replace. For squeaks, sanding the rotor with emery cloth, cleaning with a dry, no-residue degreaser and removal of pad gloss with a light sanding can help (provided the pads have not been contaminated). Replace pads if necessary.
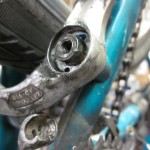 For a sticking “u” brake, knowing how the brake functions may mean the difference between fixing an otherwise perfectly good brake or having to special order a new one. The mounting bolt on many of these doubles as the spring fixing bolt. Smoothing down the belled out section of the post with emery cloth/ file and filing down the brass bushing of the brake slightly might just get them working like new.
Caliper brakes
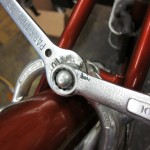 Make sure they are tight and that the springs provide plenty of return snap (those cables are not going to be new forever). Using
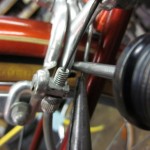 a screwdriver as a guide as well as prying device for stronger springs can help re-seat the spring. Remove the wheel and use a rag, tape or the like to avoid marring paint.
Tip: For less expensive brakes which may be just short of clearing the tire (perhaps a 700c wheel on a frame designed for 27″), try bending out the slotted pad mounting section of the caliper with a crescent wrench as this can often add the few critical mm sometimes required to fully clear the tire.
Squeaky Brakes
Toeing pads, riding with emery cloth between rim and pad, bending pads by hitting center section in vise or the like (forming a gentle “cup”) or even metalic grit from a grinder can all help.

