 Worn drive train parts unfortunately often need replacing. Typically by the time the average rider is in need of these parts both cassette/ fw and chain are required (If one is diligent it might be possible to get a bit more life out of a cass/fw by switching back and fourth between chains: but who has the energy for this really?).

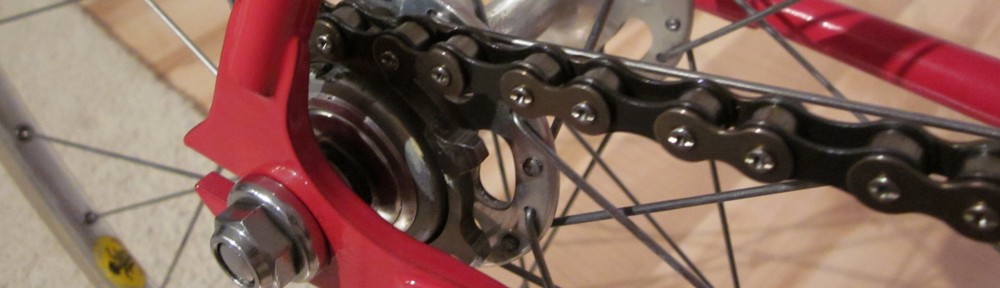
Quickly checking a chain for stretch using a chain wear indicator can rule out using only a new chain(some check for bushing wear as well), as can checking for visible wear on the teeth. Obviously if the cassette had just been replaced you can perhaps try the new chain but beware of a new cassette ridden with an extremely worn chain even for a short period as small cogs can wear quickly.
Typically the higher (smaller # teeth) gears will be more prone to wear and skipping. The fewer the number of teeth the more prone to skipping when worn. A stretched chain will wear teeth sooner (i.e. aluminum rings) but the contact points on the teeth and bushings on chains will wear even if it is not obvious through a quick visual inspection. And don’t forget: this could easily be the second new chain the cogs have seen so its best to estimate for gears as well. Worn rings are generally visibly worn before they skip, except perhaps on very small rings. Bent teeth, stiff/broken/cracked links, bad freehub body are other possibilities. Go through the possibilities by exclusion. Beware the spliced chain from hell…
 Note: older Shimano cassette bodies with splines extending to the end of the body were not designed to take 11t cogs- which will bottom out before allowing the cassette to tighten. By saving the thin steel cassette spacers found on many Shimano cassettes you can often space out an 11t cassette enough to tighten it on a 12t+ body. Remove cassette pins/ rivets if they interfere. Newer Dura Ace cassettes may require a very thin spacer when used on non-Shimano (or older Shimano?) cassette bodies.
For older Uniglide (UG “twist tooth”) type cassette cogs (and some freewheel cogs) with symmetrical splines and a thread on outer locking cog, flipping a worn cog around might be the only fix if a cassette is simply not available. Unfortunately it is often the locking cog which may need replacement. Upgrading the cassette body, re-spacing a new cassette with original and additional spacers or replacing wheel/ shifter/ der are all options that can be weighed.

 Yes,though most freewheels will generally be tossed, you can sometimes fix them by removing sticky grease, a paper thin spacer or increasing/ decreasing the number of bearings by one or two. The locking cone/race is reverse threaded and often removed while still on the hub or in a vise if possible. A proper adjustment is achieved when this reverse threaded nut is punched tightly back into place. Be sure to not fully disassemble if not absolutely necessary as this requires repacking both sets of 1/8″ bearings.